
What is an XML sitemap?
The XML Sitemap refers to markup language used to communicate information to the search engine like when a page was published or when it was last updated. By following your sitemap, search engines index and crawl your entire website or you choose to attach a no-index tag to a page of your website. An XML sitemap is important in search engine optimization.
How to install the XML Site map?
First, you have to log in to your WordPress dashboard and then go to plugins and add a new plugin. Type “Google XML sitemap into the search bar. There are many similarly-named plugins; you have to get the right one as “Google XML sitemap”.
Google XML sitemap
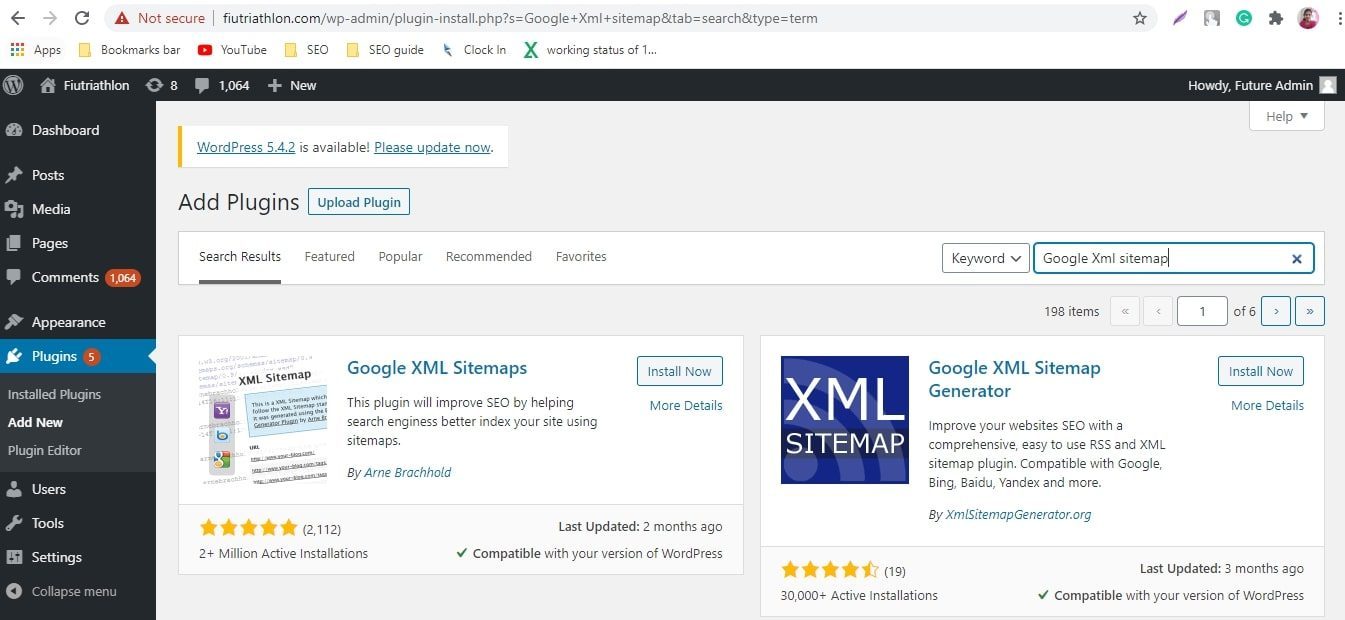
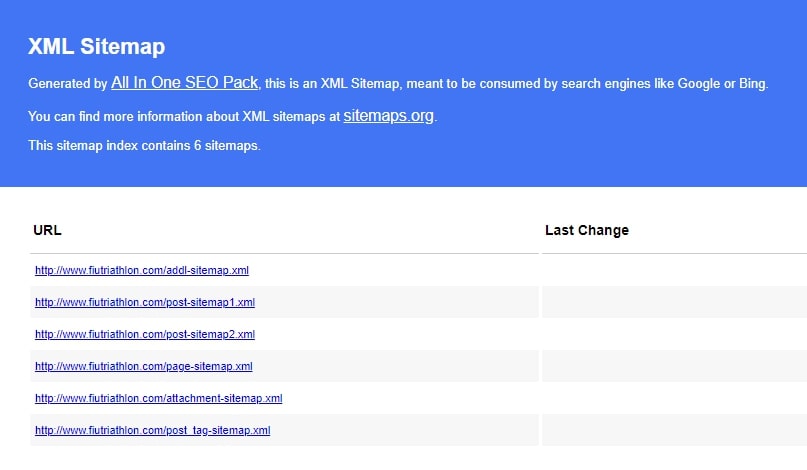
Then click install now and active plugin. Now Google XML sitemaps will generate your first sitemap. You can see the XML sitemap by adding Sitemap.xml extension to your domain.
How to configure Google XML sitemap?
Here we are going to start configuring your new plugin. All of the plugins are controlled by one screen. Settings->Xml sitemap. If you want your XML site indexed, click the update option and then click on the XML site map option. So you can get the page of an XML sitemap. or you can use the plugin “All in One SEO Pack“. Here we have seven basic options. Let’s see what are they,
Basic options
The first sections which control the basic configuration.
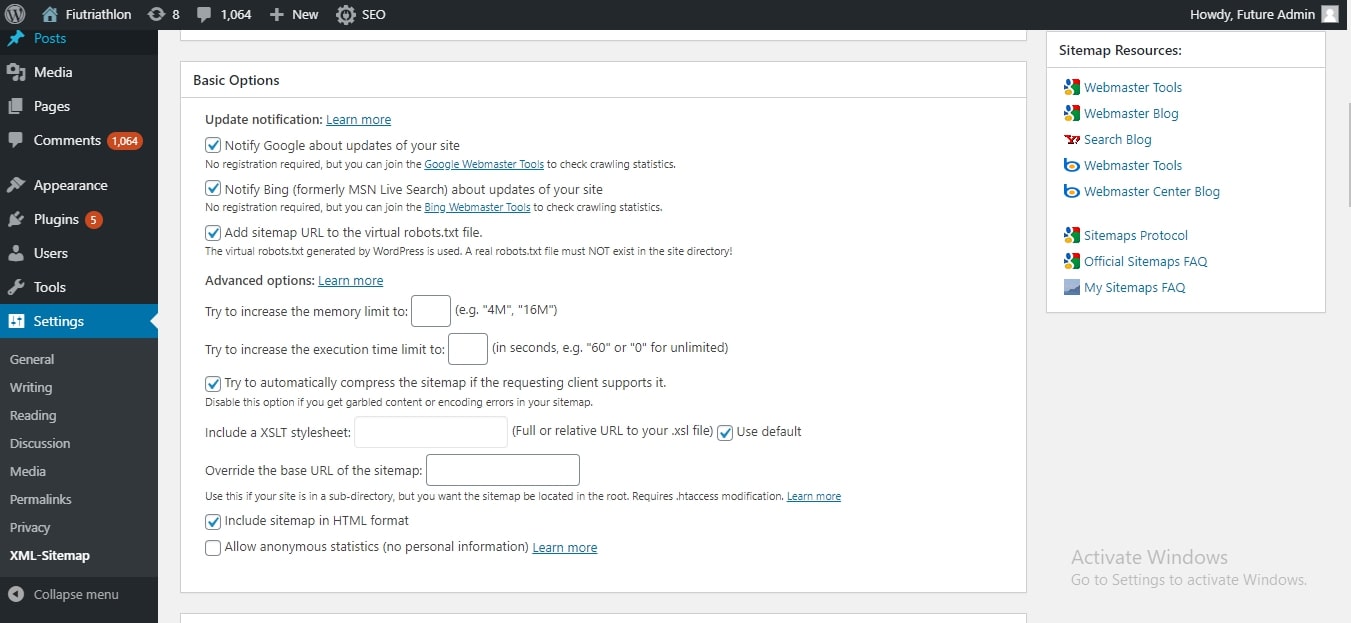
This option adds your XML sitemap to the robot.txt file. This file is specifically created to communicate with search engine crawlers. It guides them around your site and tells them what to index. This file is useful for search engines that don’t support notification.
Additional pages
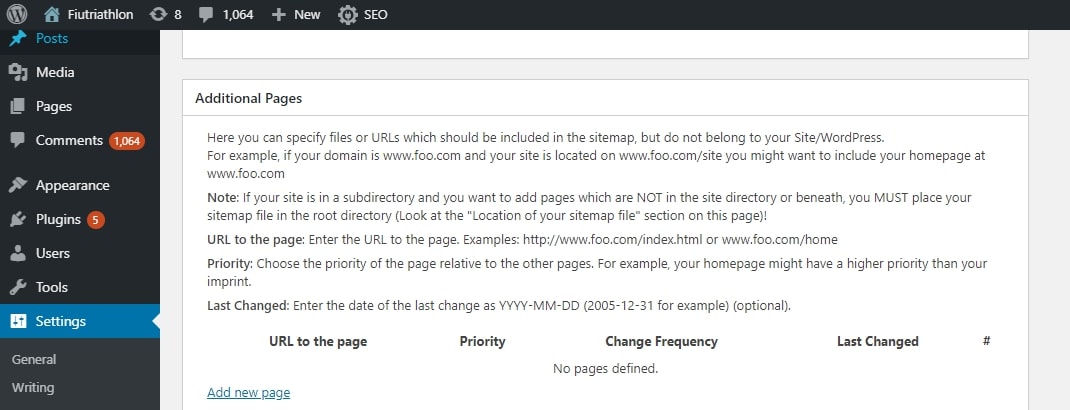
Additional pages are really applicable to those using subdomains and subdirectories. It specifies additional external pages to add to your XML sitemap. For example, if you post a blog at domain.com/blog name you may want to include homepage. You sub-directory sitemap is domainname.com
Here, you have to specify the priority level, URL, date the URL was last changed, and change frequencies.
Post Priority
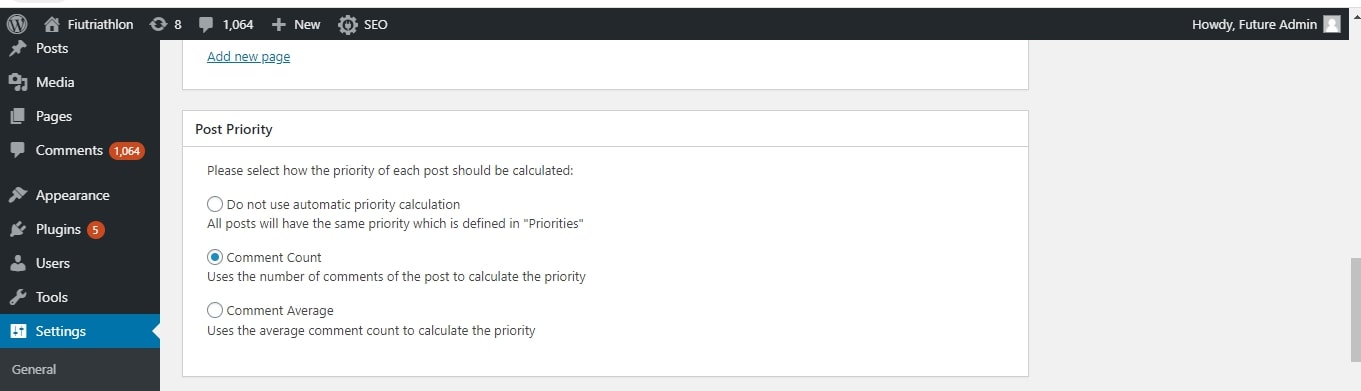
The priority level is called a vital part of your XML sitemap. They communicate your content to the search engines. Every website page gets into priority level up too and 1 and increments of 0.1
There are three important things, they are
- Do not use automatic priority calculation
- Comment count
- Comment average
Sitemap content
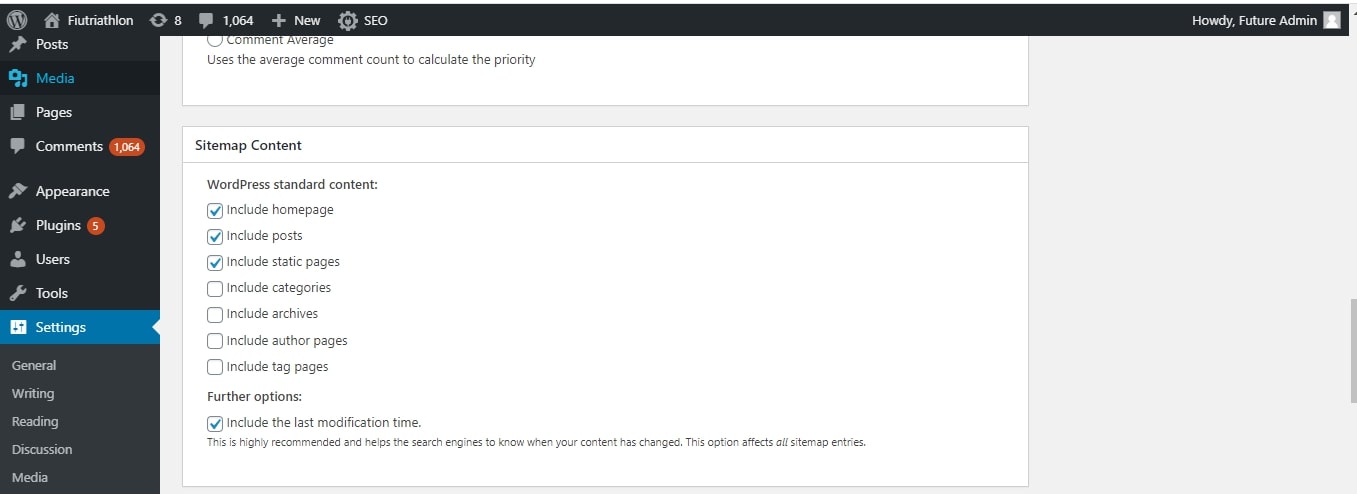
Sitemap content allows you to choose custom post types, choose which items. For example, WordPress is an absolute one to post, create pages, and custom post types.
Excluded items
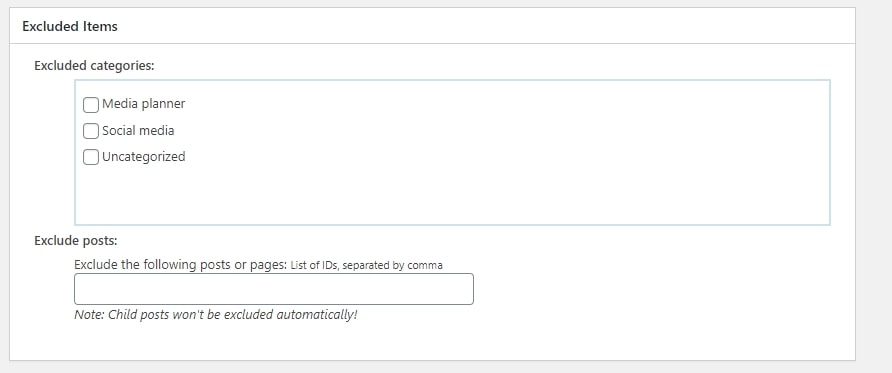
Exclude items allow you to exclude entire categories from the XML sitemap and also add individual posts and pages by giving their ID numbers.
Change frequencies
Change frequencies are the guidelines given to the Google search engine, letting them how content is likely to change. This kind of information tells the Google search engine when they need to send their crawler bots to look for any updates. Let’s see an example, if you are publishing a blog, set the homepage change frequency to reflect this.
Priorities
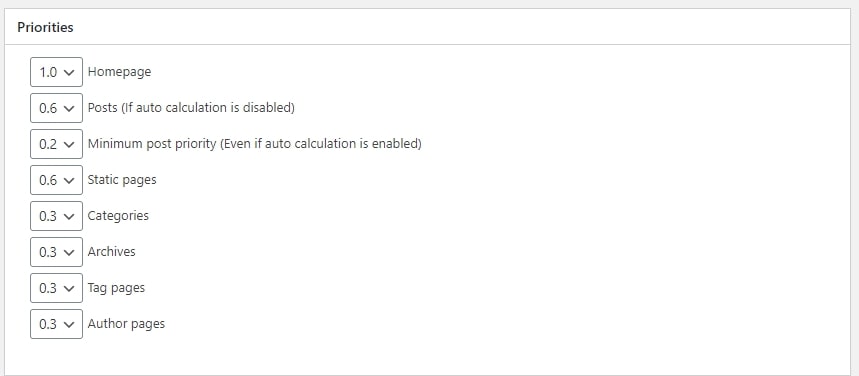
This lets you rank and how important your other content. You must describe blog post maximum and minimum values.
Submit XML site map in Google Search Console
Step 1: Go to WordPress plugin and install the “tracking code manager” plugin and activate it.
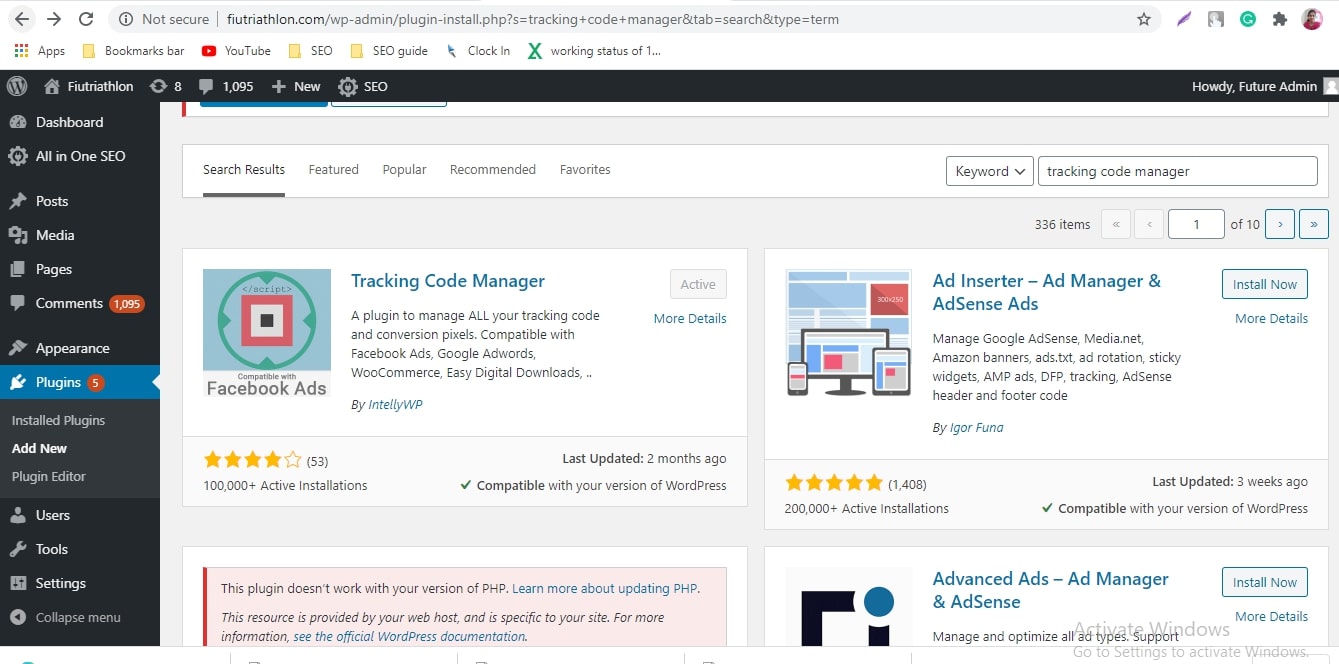
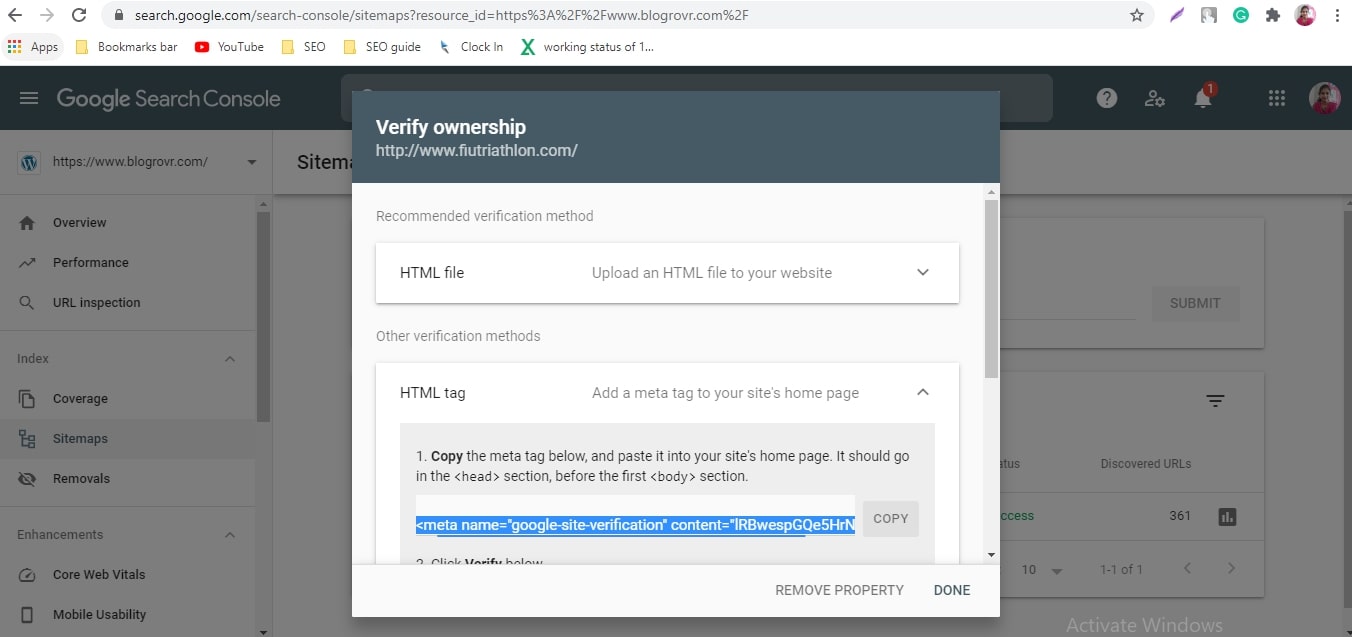
Step 2: Go to “tracking code manager”. Then you have to copy the verification code from Google search console and paste the code in tracking code manager in WordPress.
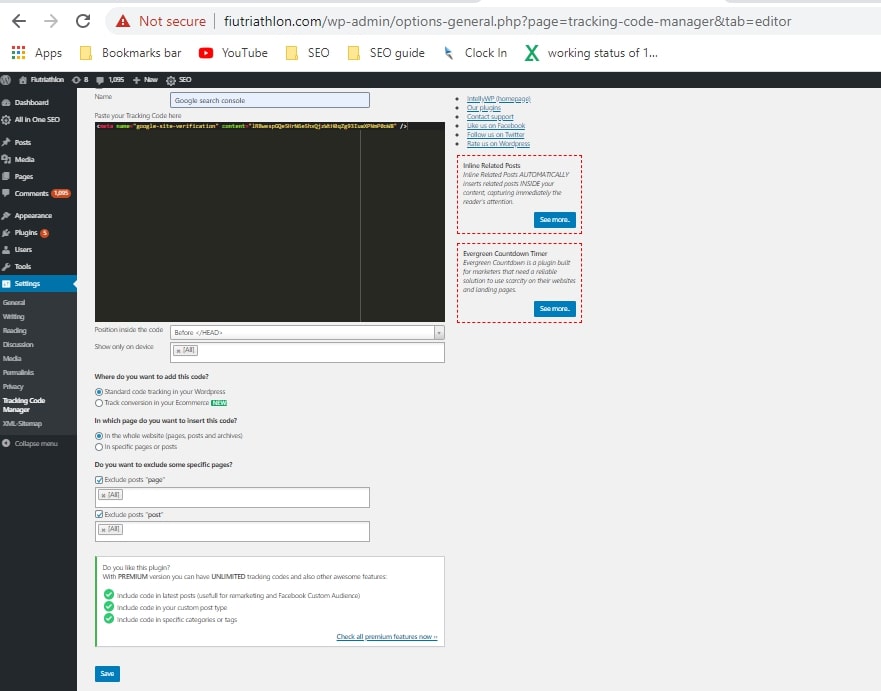
Step 3: Fill Where do you want to add this code and on which page do you want to insert this code. And give “Do you want to exclude some specific pages?” option as All and finally click on the save option.
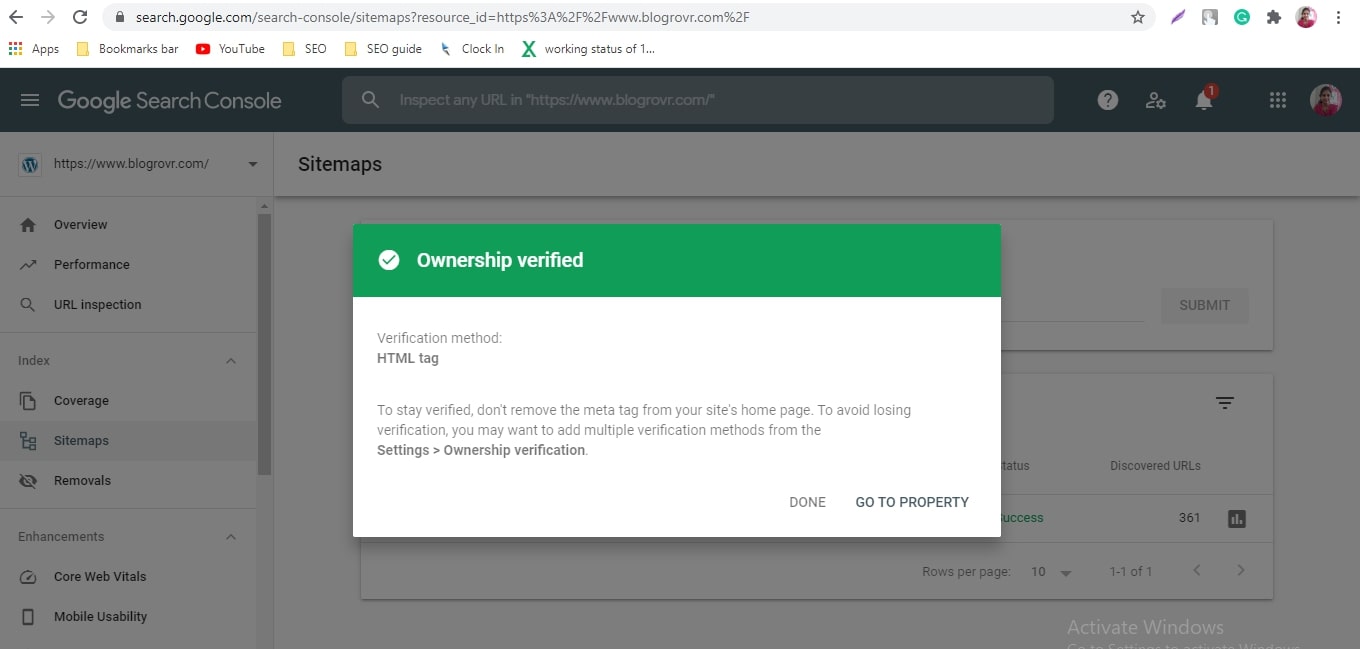
Step 4: Now you can click on the verify option in Google search console. You have will get the notification as Ownership verified.
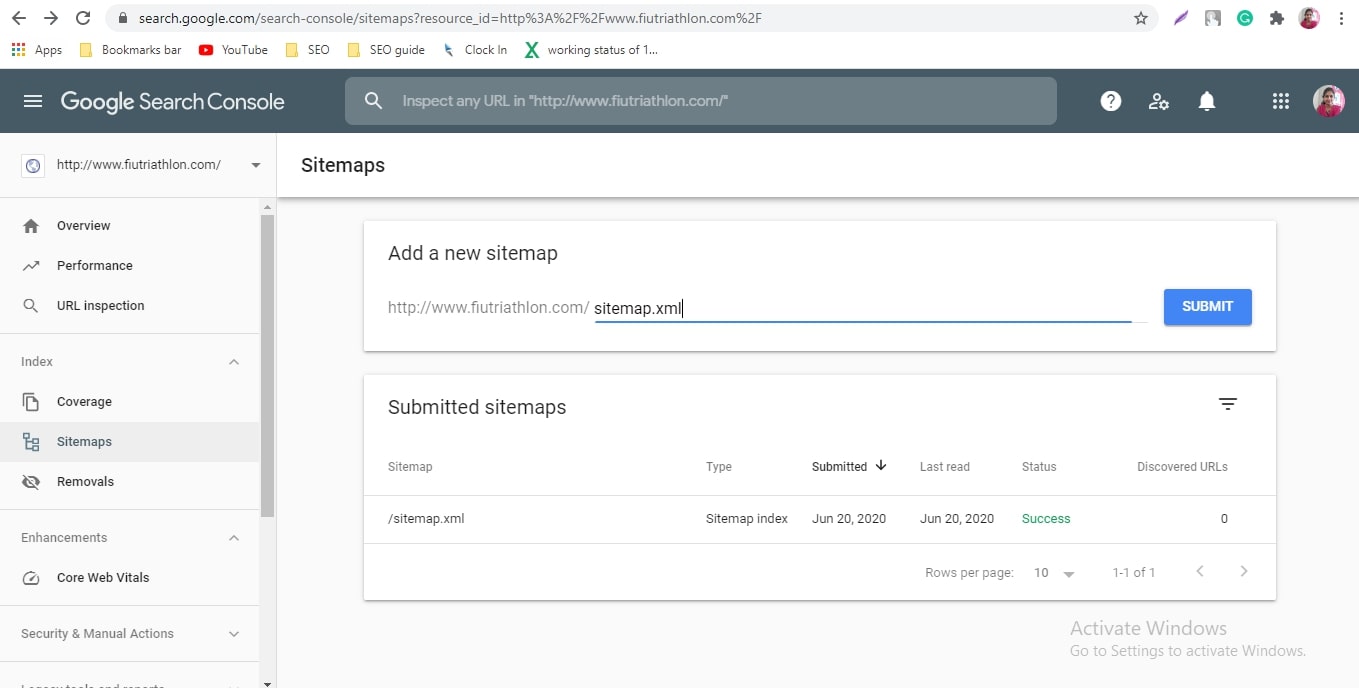
Step 5: You can submit an XML sitemap in Google search console. Select the property which site you need to submit and just select the “Sitemap” option in Google search console. Then you can give as “Sitemap.xml” to add a new sitemap option. Then click on the submit option. You can submit the XML site map easily in the Google search console.
John Tao
Latest posts by John Tao (see all)
- The Definitive Guide to Migrating from Squarespace to WordPress with SeekaHost - April 26, 2024
- The 6 Best Apps & Tools for Remote Workers’ improved Productivity & Efficiency - January 22, 2023
- Can Green Juice Help You To Lose Weight? - May 26, 2022